
10 Expert House Painting Tips to Make Your Walls Look Professional
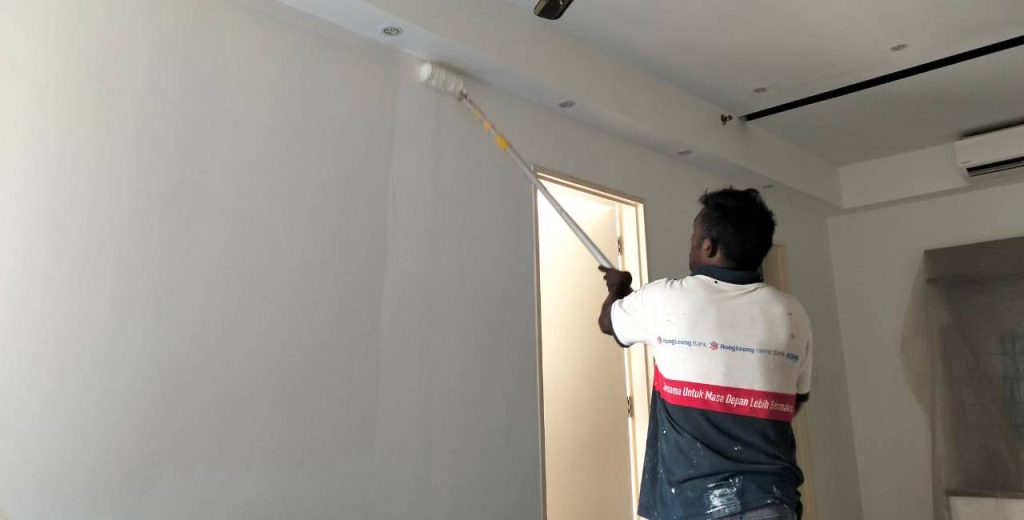
Painting your home may seem simple, but anyone who has picked up a brush knows it’s more than just applying color to walls. A professional-quality paint job requires planning, patience, and the right techniques. Whether you’re preparing for a full house makeover or just refreshing a single room, these expert house painting tips will help you achieve smooth, even, and long-lasting results.
In this comprehensive guide, we’ll share 10 professional tips to make your walls look flawless—just like they were painted by a pro.
1. Start with Proper Preparation
Every flawless paint job begins long before the first coat goes on the wall. Professional painters often emphasize that preparation accounts for the majority of the work. To begin, make sure your walls are completely clean. Dust, grease, or dirt will prevent paint from adhering properly, and over time this can cause peeling or uneven patches. Washing the walls with a mild soap solution is usually enough, though kitchens and bathrooms may require extra attention because of moisture and residue. Once the surface is clean, examine the walls closely for cracks, dents, or holes. These imperfections should be filled with spackle or wall putty and then sanded down until the surface is smooth and even. After that, protect your flooring and furniture with drop cloths or plastic sheets, and carefully tape along the edges of trim, windows, and doors to prevent accidental smudges. Preparing thoroughly may feel time-consuming, but it ensures that your final result looks neat and professional.
2. Always Prime Before Painting
A good primer is the foundation of a lasting paint job. While some people are tempted to skip this step, primer serves several important purposes. It creates an even surface that allows the paint to adhere better, helps conceal stains, and reduces the number of topcoats you’ll need. Priming is especially important if you are covering bare drywall, moving from a dark color to a lighter one, or working in areas where there are visible watermarks or stains. Using a tinted primer that matches the shade of your final paint can make the application process smoother and reduce the number of coats required. Skipping primer often leads to uneven color and premature fading, so it is always worth including in your process.
3. Invest in Quality Paint and Tools
Cheap paint may save money upfront, but it usually requires more coats, fades faster, and doesn’t cover evenly.
Choose high-quality paint: Look for washable, durable, and low-VOC (eco-friendly) options.
Get the right tools: A good roller, angled brush, and extension pole will make your job smoother and faster.
💡 Pro Tip: Don’t skimp on brushes and rollers. High-quality tools hold paint better and leave fewer streaks.
4. Test Colors Before Committing
A color that looks perfect under the bright lights of a paint store can appear completely different once it is on your wall at home. Lighting conditions, room size, and surrounding décor all influence how a paint color looks. To avoid disappointment, always test your chosen colors before committing to painting an entire room. Purchase a small sample can and paint a section of the wall that is large enough to give you a realistic sense of how it will appear. Observe the color at different times of the day under both natural and artificial light. Pay close attention to undertones, since a white shade may appear yellow, blue, or gray depending on the lighting. Taking the time to test colors helps you make a confident decision and prevents costly repainting later.
5. Cut in Before Rolling
One of the hallmarks of a professional paint job is clean edges. This is achieved through a technique known as “cutting in,” where a brush is used to paint along the edges of walls, ceilings, and trim before the larger sections are rolled. Cutting in first ensures that the roller can blend seamlessly into the edges, creating a uniform finish without visible lines or missed spots. It may feel slower than rolling straight away, but the results speak for themselves. Working in small sections is ideal, since it allows the cut-in areas to stay wet long enough for the roller to blend them in smoothly.
6. Use the “W” Technique with Rollers
Rolling paint in straight lines often causes streaks or uneven coverage. Instead, use the “W” or “M” technique:
Load your roller with paint.
Roll it onto the wall in a large “W” shape.
Fill in the gaps without lifting the roller too often.
This method spreads paint evenly and avoids visible roller marks.
💡 Pro Tip: Always keep a wet edge. Don’t let one section dry before blending into the next, or you’ll see lap marks.
7. Apply Multiple Thin Coats
The temptation to apply one thick coat of paint to finish the job quickly can be strong, but it rarely produces a professional result. Thick coats often dry unevenly, leave behind drips, and are more likely to peel over time. Instead, the best approach is to apply two or three thin, even coats. This builds up the color gradually and allows each layer to dry properly, which increases durability and gives a flawless finish. Always allow the paint to dry fully according to the manufacturer’s instructions before applying the next coat, even if it feels dry to the touch. Patience in this step makes a significant difference in the final outcome.
8. Mind the Weather and Humidity
The environment you paint in has a direct effect on how your paint dries. Extreme temperatures or high humidity can ruin an otherwise perfect job. Paint dries best in moderate conditions, ideally between 10°C and 30°C with balanced humidity. If the weather is too hot, paint can dry too quickly, leading to visible streaks and brush marks. If it is too humid, the paint may take too long to dry and could bubble or peel. For interior projects, proper ventilation is important, so open windows or use fans to keep the air flowing. By paying attention to the weather, you ensure that your paint adheres and dries as intended.
9. Don’t Forget the Finishing Touches
Once the walls are painted, the final details make all the difference. Remove painter’s tape carefully at a forty-five-degree angle while the paint is still slightly wet to avoid tearing off dried paint. Walk through the room and inspect the walls closely for drips, uneven areas, or missed spots, and take care of touch-ups immediately. Once the paint is fully dry, reinstall fixtures like light switch covers, outlet plates, curtain rods, and artwork. Small finishing touches may seem minor, but they elevate the entire space and complete the professional look.
10. Maintain Your Freshly Painted Walls
A fresh coat of paint should last for years, but only if it is maintained properly. Walls inevitably collect dust and fingerprints, so clean them gently with a soft sponge or cloth and mild soap when necessary. Avoid abrasive cleaners that can damage the finish. In moisture-prone areas like kitchens and bathrooms, good ventilation is essential to prevent mold or peeling. Over time, small chips or scratches may appear, and it is best to fix them quickly before they worsen. Keeping a small container of leftover paint, along with the color code and finish details, makes touch-ups easy and ensures consistency in the long term.
Final Thoughts
Painting is one of the most affordable and impactful ways to transform your living space, but the difference between an amateur job and a professional-looking finish comes down to technique and preparation. By following these ten expert tips—focusing on preparation, using quality products, applying the right methods, and giving attention to details—you can achieve results that rival those of a professional painter. A little extra effort at each stage not only makes the process smoother but also ensures that your walls will remain beautiful and durable for years to come.
If you’re looking for a professional house painting service that guarantees a flawless finish, our team is here to help—contact us today for a free consultation.